Eggplants don’t look like it, but they contain many vitamins and minerals such as potassium, fibre, Vitamin B1 and more. They also contain many important phytonutrients which have many antioxidants. There are lots of different varieties of eggplants and depending on the variety the flavour is slightly different. The most common type of eggplant we see in the market is the large ones with the purple skin and spongy texture. Depending on your location as well, different types of eggplants can be found in the markets. Where I am at (Sydney) I can only find the classic large purple skinned eggplants, but if I go further out West I sometimes see the white eggplants and the Thai ones as well.
Growing up in Cambodia we eat a lot of fresh vegetables with dips. The common vegetables that are eaten with dips are 3 different types of eggplants (purple skin, Thai eggplant and Pea size eggplants), cucumber, green cabbage and sometimes water vegetables. Without even knowing the benefits of eating eggplants, Cambodians grow up eating and loving them. Because where I came from we often eat eggplants in their raw form or simply add them to soups or stir-fry, I was very surprised when I first encounter this dish from a Sichuan restaurant we found in Sydney. From then my mind opened up to many other eggplant dishes. My partner is a BIG fan of eggplant, any eggplant dish is one of his favourites and this is one of them.
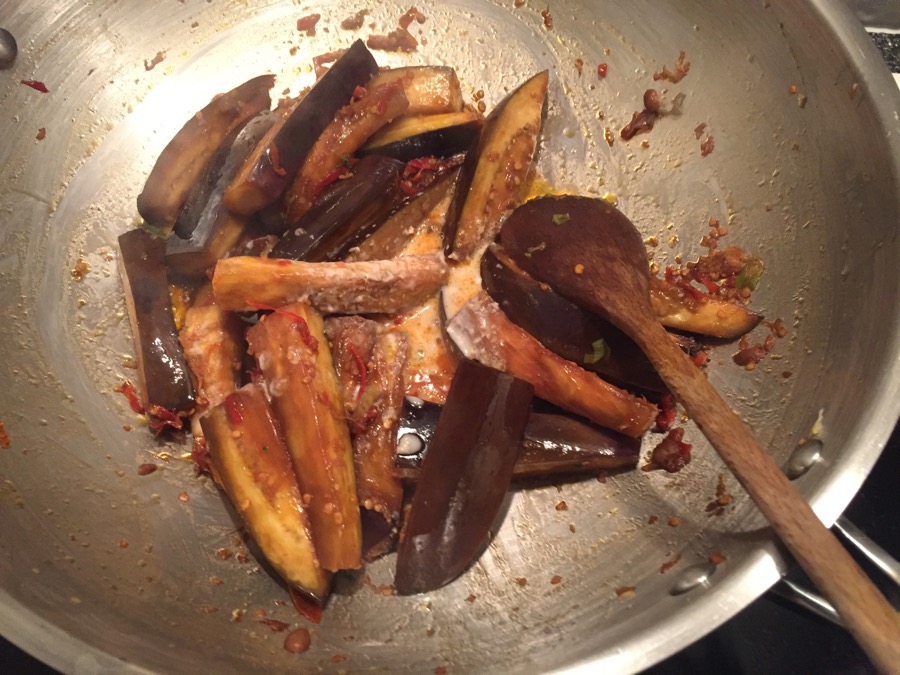
Note: to make this dish the best type of eggplant to use is Chinese eggplant because of its thin and long shape there’s only small amount of the white spongy part. The white spongy part can get very soft and soggy when cooked, especially if they get overcooked which will make them mashy. For this recipe I use the large purple ones because they do not have the Chinese eggplants in my area. So as long as you don’t cook them for too long or leave them in the hot wok when finished their texture will be fine.
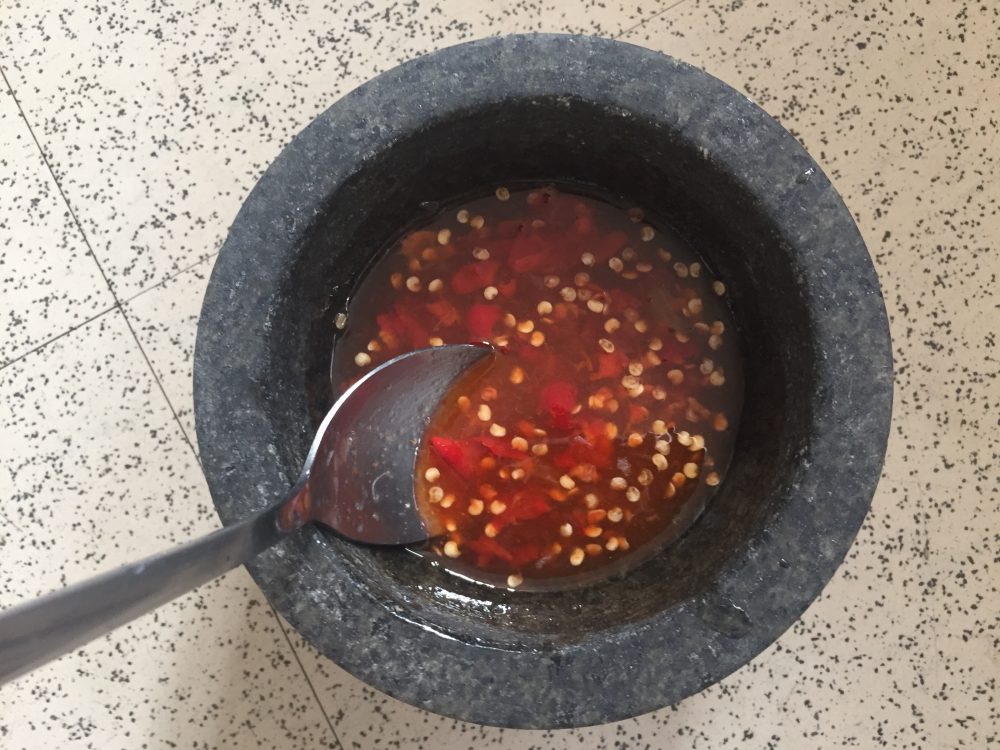
This dish is a spicy dish so because we use chilli bean paste to create the spiciness, you can simply adjust the amount of chilli bean paste to your own liking.
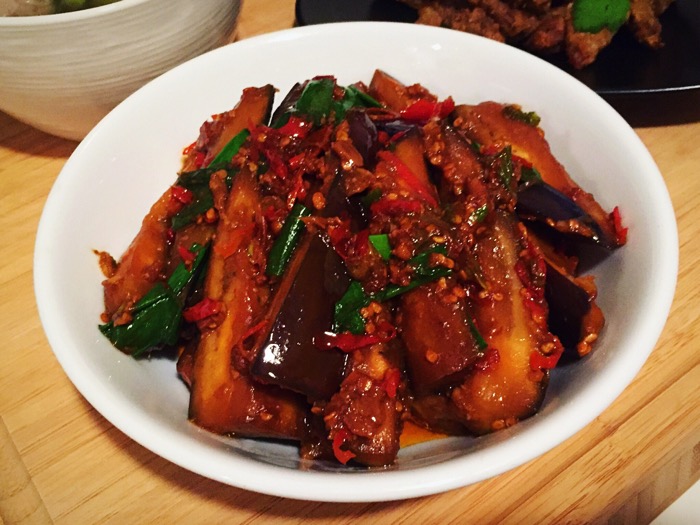
CHINESE STIR-FRY EGGPLANT
Prep-Time: 10 mins Serve: 2
Cooking Time: 10 mins
Ingredients
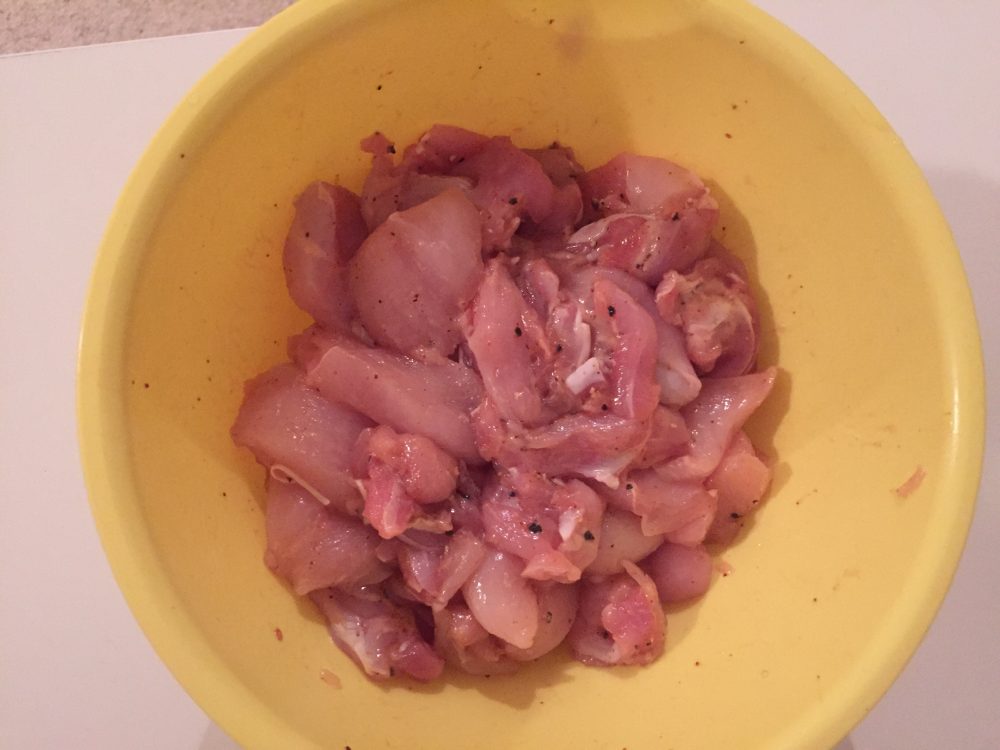
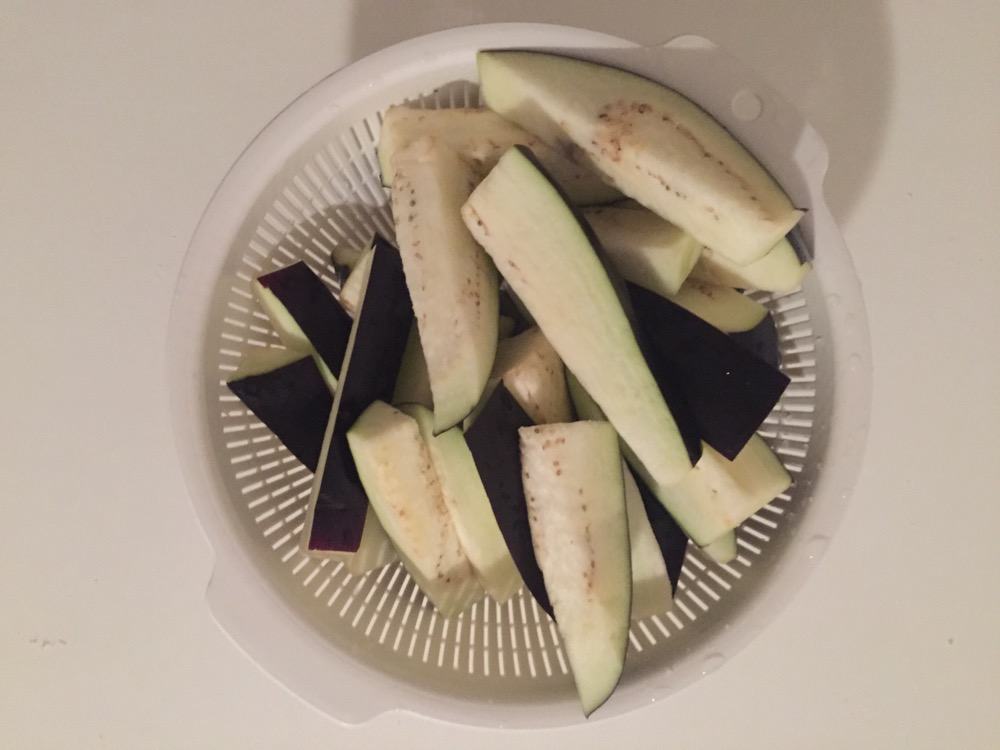
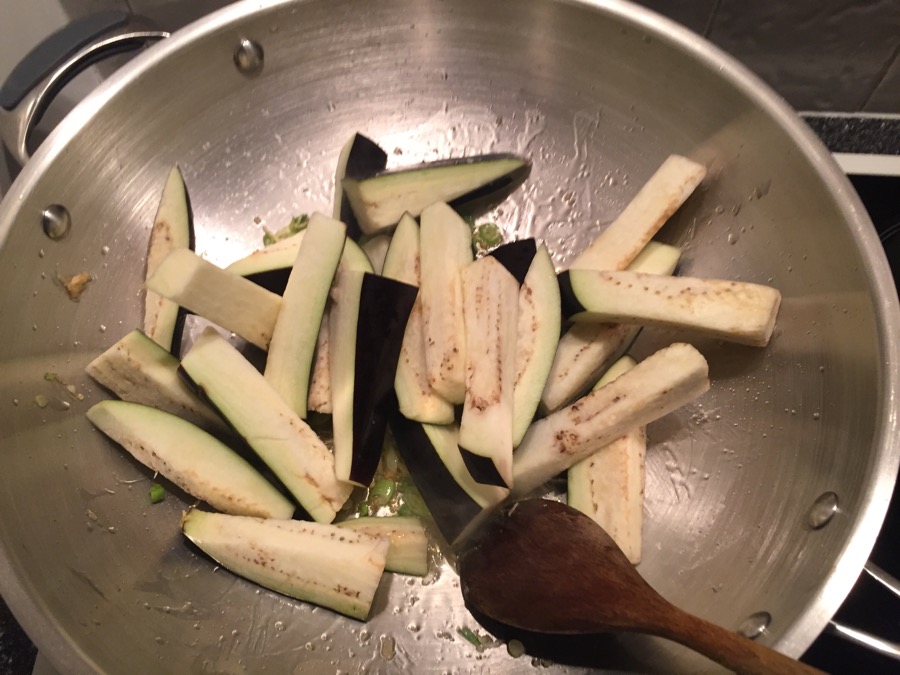
1 large eggplant, cut into strips and soaked in water
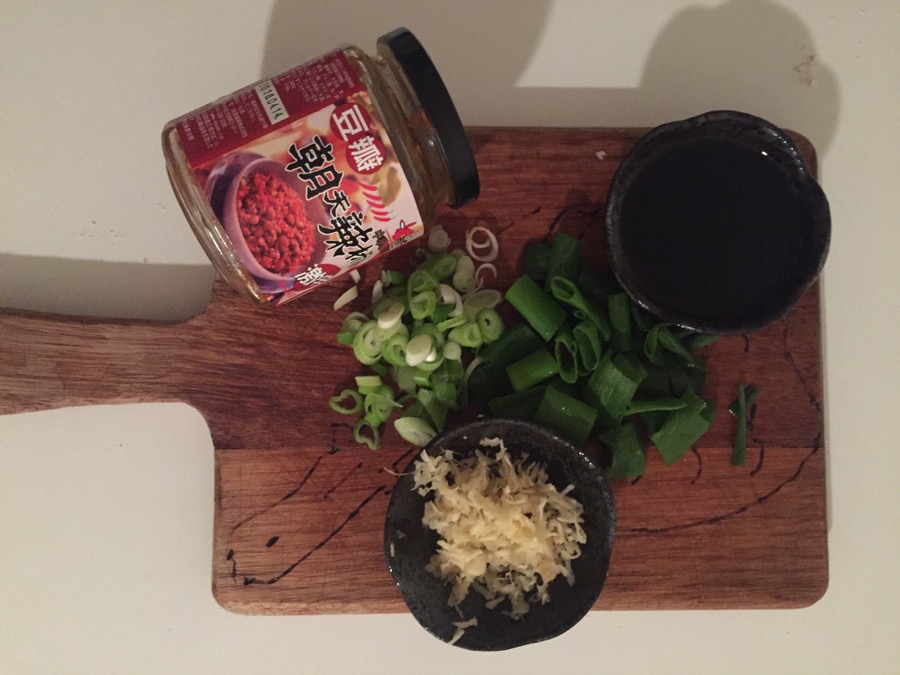
2 stalks spring onion, chopped
1 thumb size ginger, grated
1 garlic clove, grated
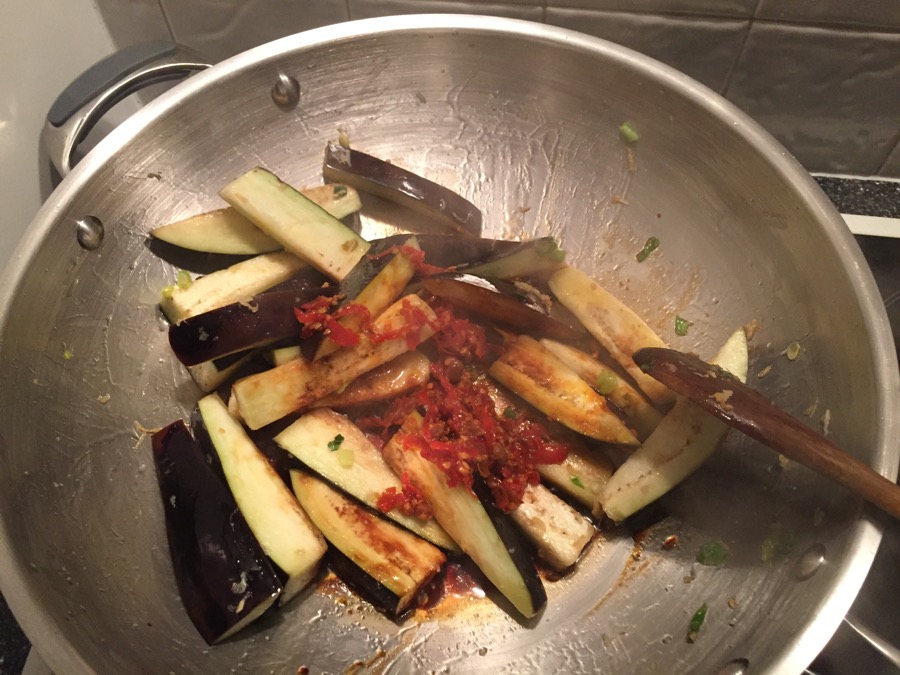
1 tbsp chilli bean paste
3 tbsp oil
1 tbsp sesame oil for finishing
1 tbsp plain flour / cornstarch
Seasoning
1 tbsp soy sauce
1 tsp dark soy sauce
1 tsp brown sugar
1 tbsp rice wine
Grounded pepper
pinch of salt
Method
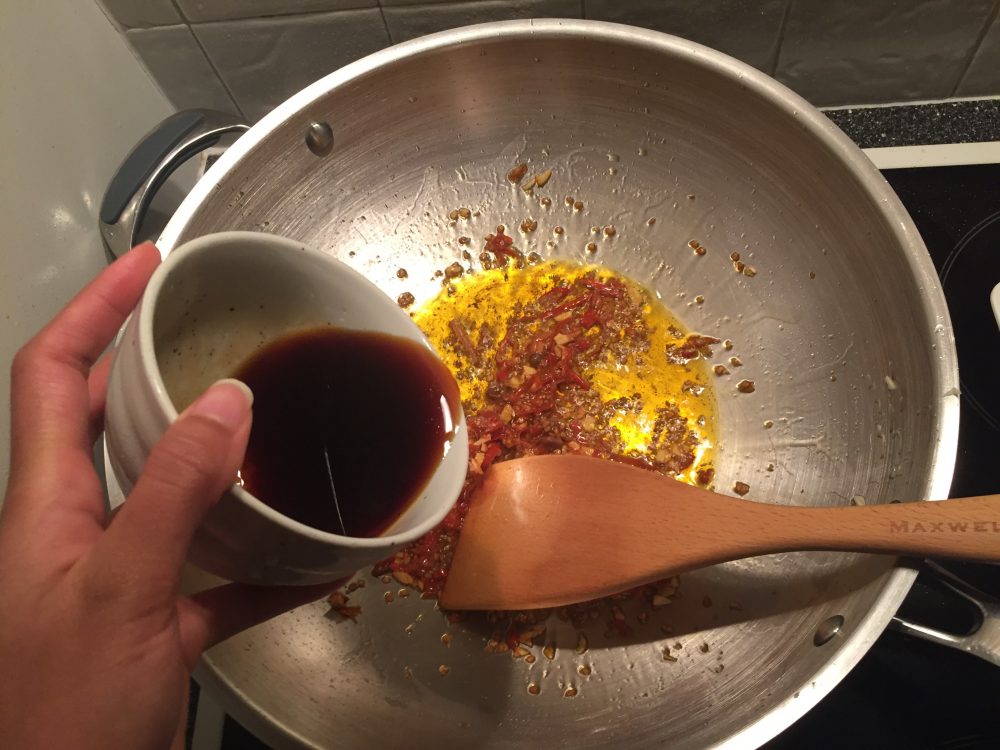
Drain the eggplant from the water and set aside. Combine all of the seasoning in a sauce bow and set aside.
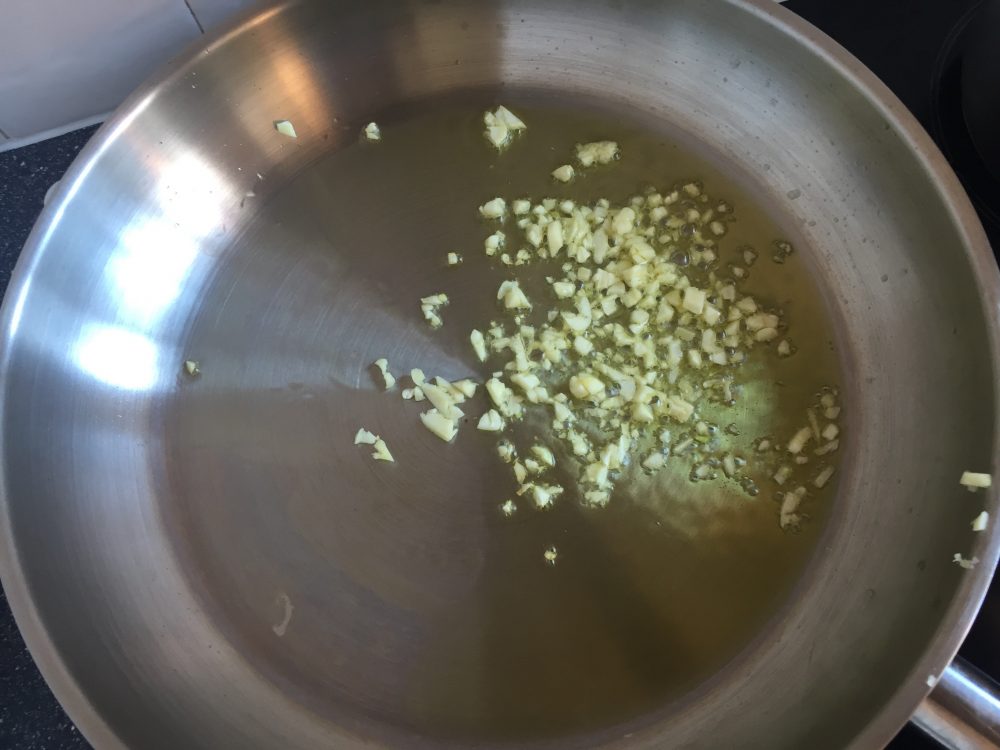
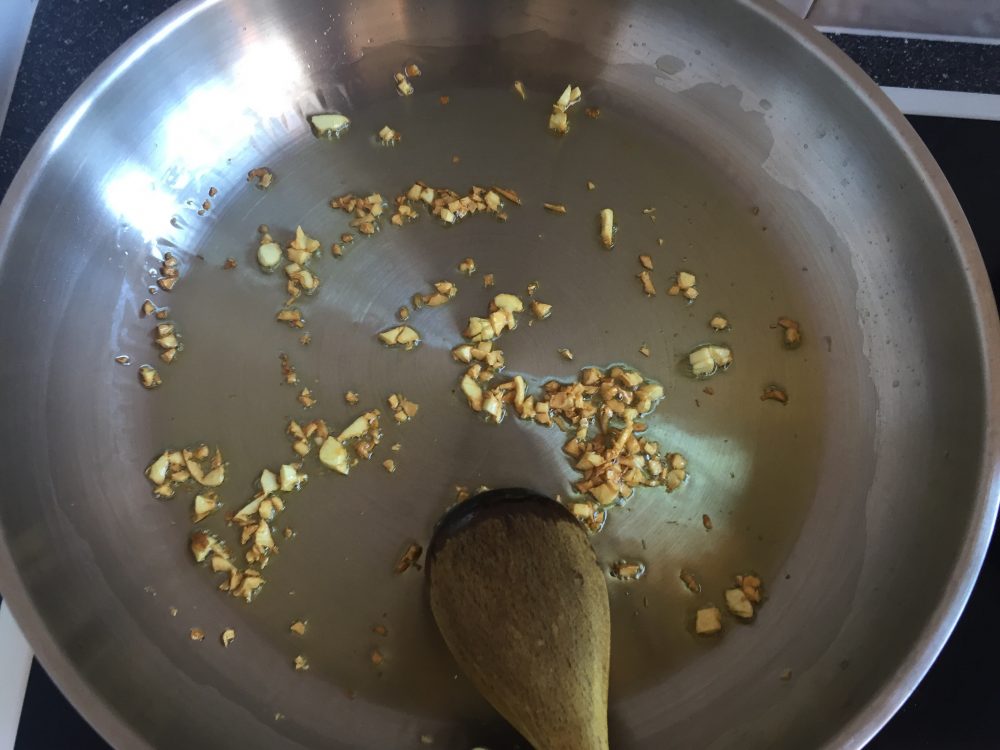
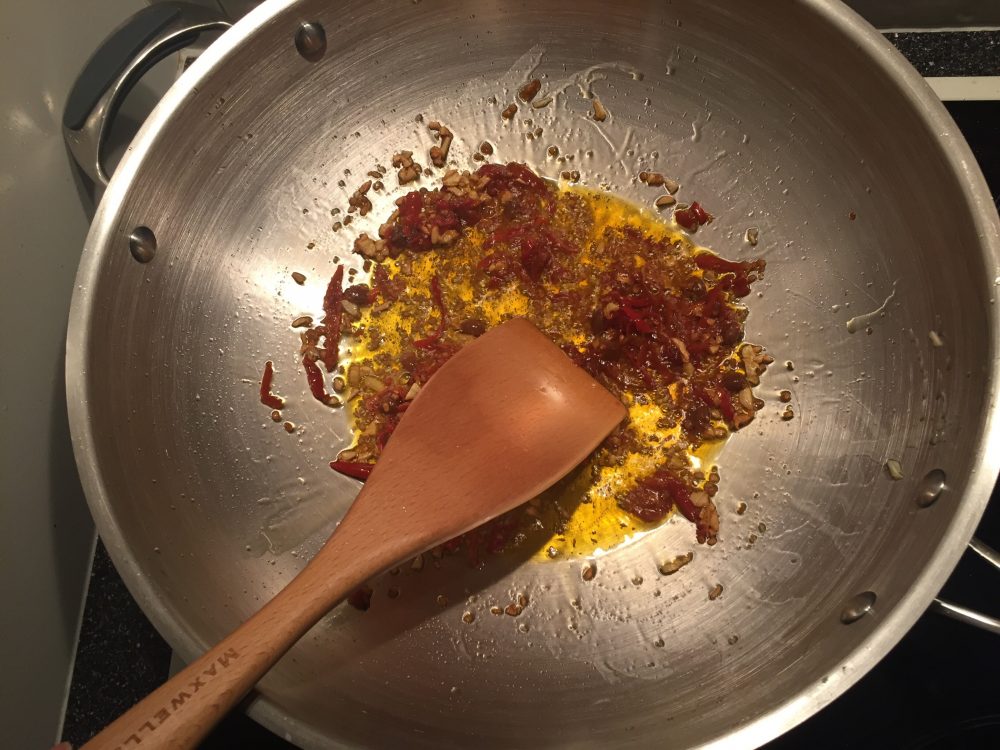
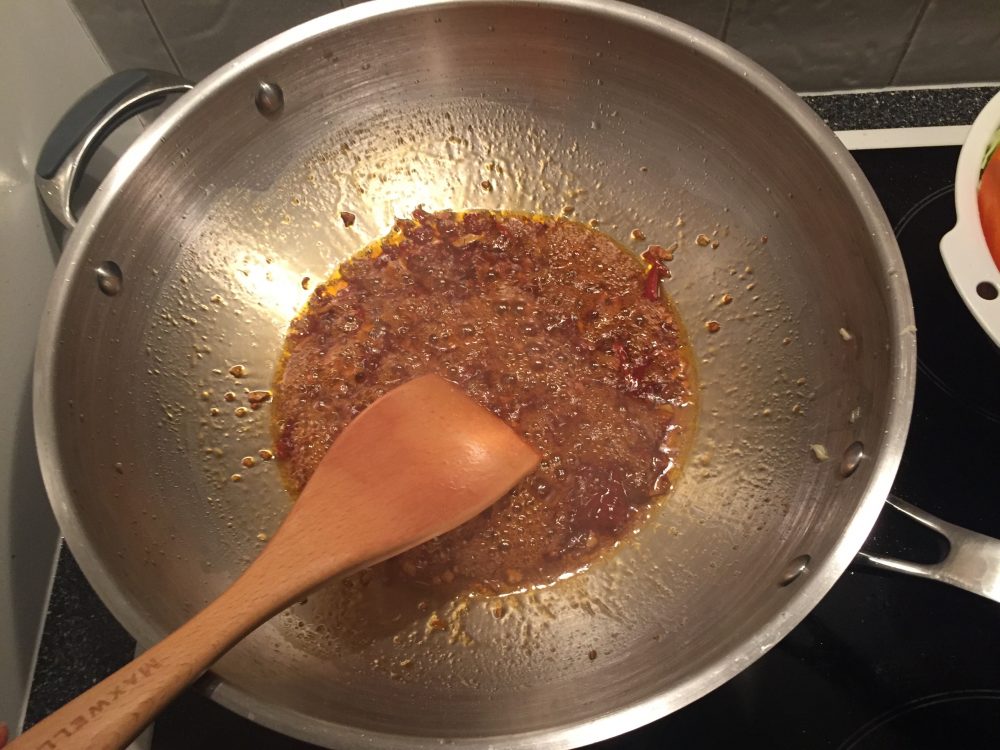
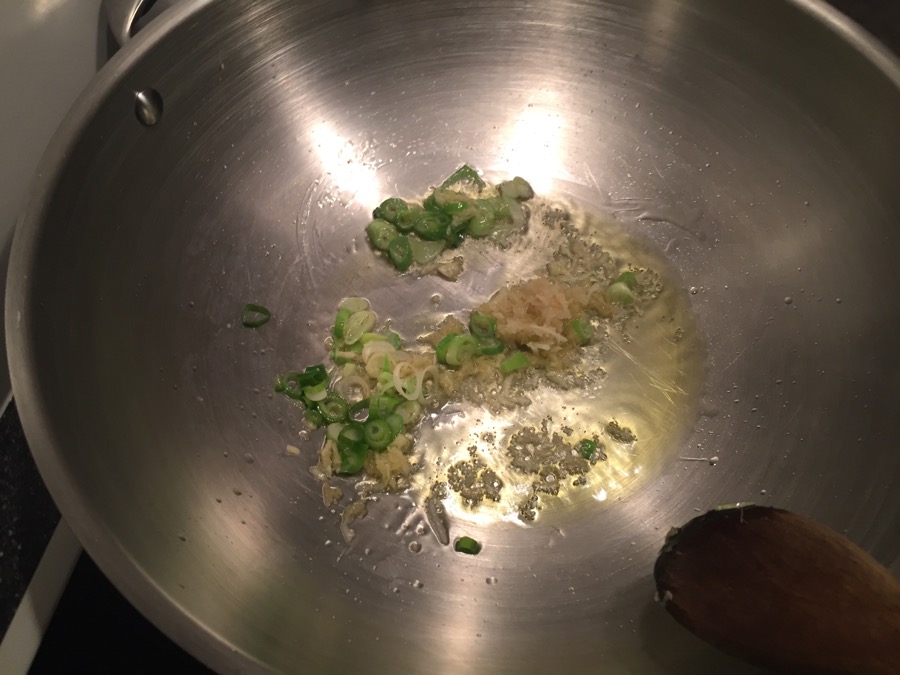
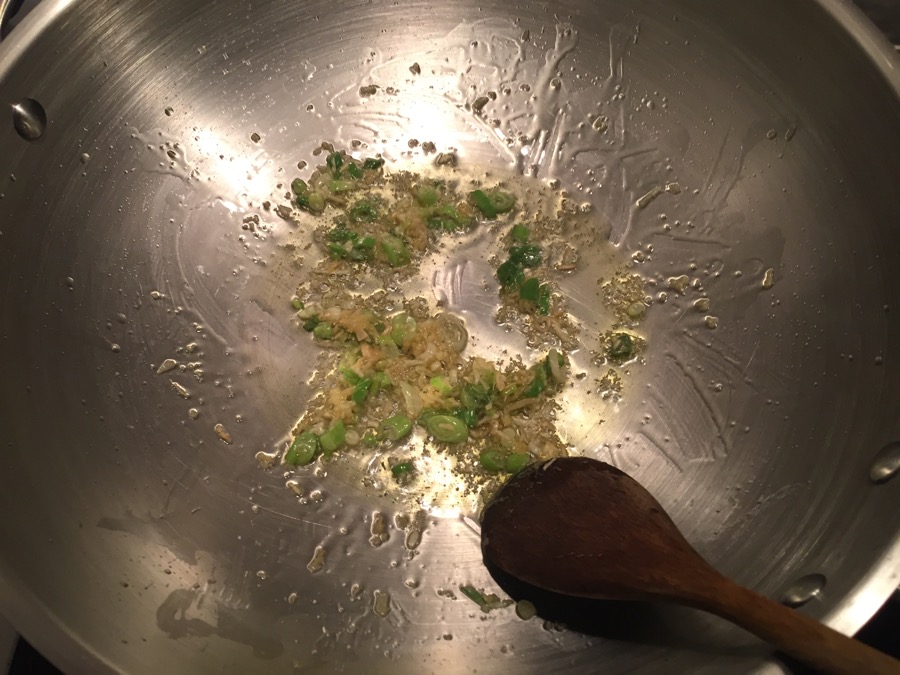
Heat the oil in a wok over medium high heat, once the oil is heated add in the garlic, ginger and the white parts of the spring onion. Cook for 4 minutes or until the garlic turns golden.
Add in the eggplant strips and cook for 5 minutes or until eggplant softens the heat and then add in the seasoning and the chilli bean paste. Stir to combine for 2 minutes.
Mix some water with the plain flour and then pour it into the wok and then stir to cook the flour for a few minutes until the sauce thicken. Add in the spring onions and stir to mix and then remove the wok from the heat and transfer on to a serving dish. Drizzle the sesame oil over the cooked eggplant and serve with steamed rice.