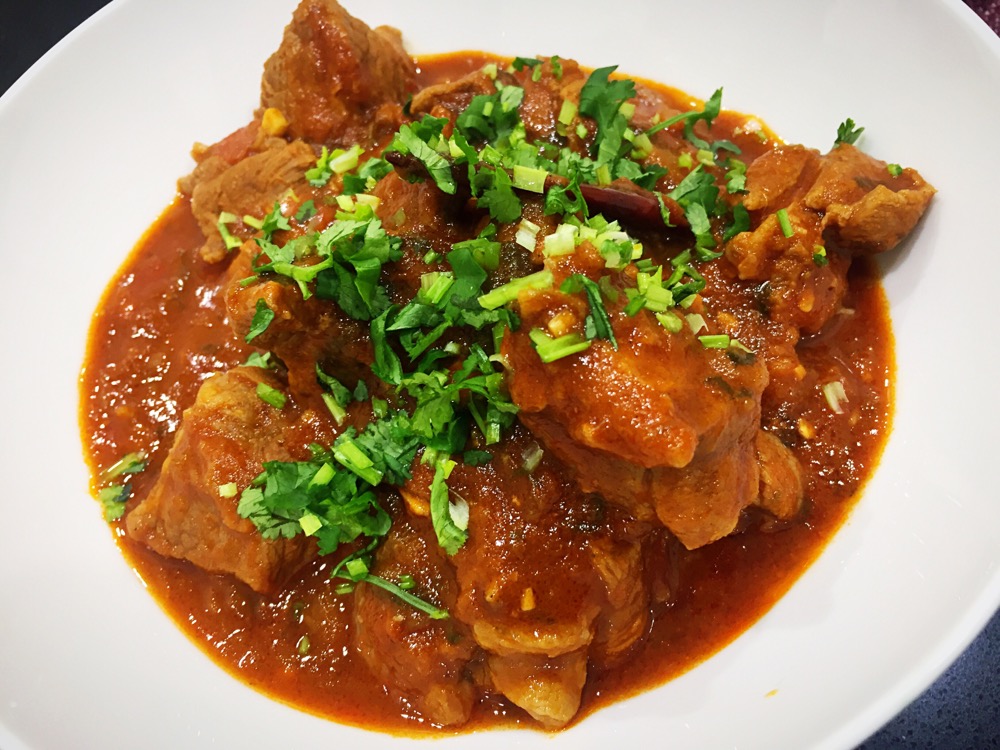
Here is another lamb curry recipe that I love making and sharing. This recipe is pretty much a family recipe. It is quite different from the South Indian lamb curry recipe I’ve shared earlier, both curries are made using lamb but this curry is a Sri Lankan style curry. I first had this curry a few years ago when I visited my partner’s family for christmas and one of the main dishes was this lamb curry, it looks very similar to most other lamb curries and I thought it would taste the same but to my surprise it was somewhat different and very good. Earlier this year we visited them again and had the same curry served to us so we decided to ask for the recipe.
There isn’t much preparation needed for this curry compared to the South Indian curry. It is also thicker than the South Indian curry because of the use of tomato paste instead of fresh tomatoes. There is no herbs or other vegetables apart from onion added to the curry so it is very meaty. When making it at home I often add some broccoli to it or serve it with a side salad.
Note: this curry is made using lean meat, but sirloin chop can also be use if you don’t mind the bones.
The curry powder I used is a Sri Lankan dark roasted curry powder which has a hot level of spiciness. If it isn’t available where you are at, then any normal curry powder that you get from the local store will do too. The local curry powders usually aren’t hot so if you want it to be as hot as our recipe, I recommend adding some grounded chilli powder or cayenne pepper as well. However if you don’t like curry too spicy, don’t worry about them.
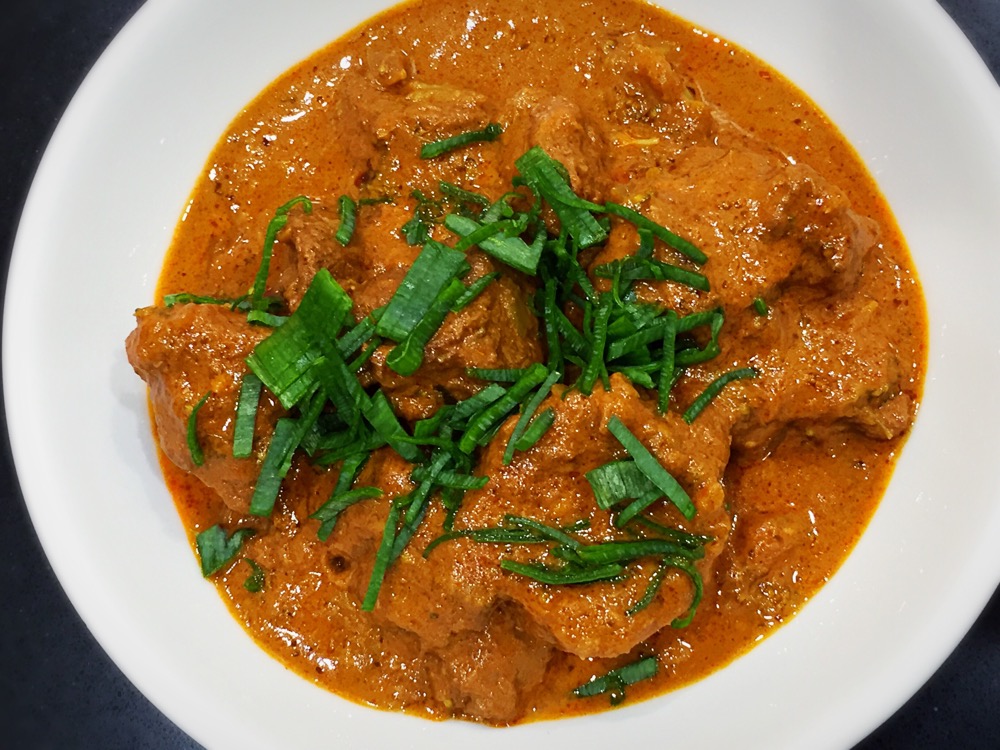
SRI LANKAN LAMB CURRY
Prep-Time: 15 mins Serve: 3-5
Cooking Time: 1 hr 5 mins
Ingredients
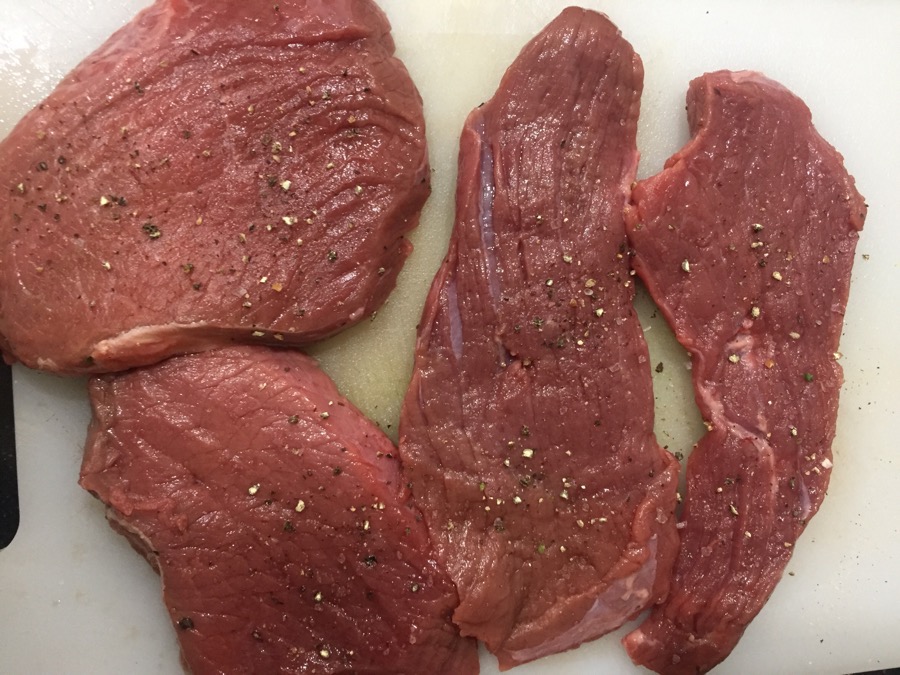
1kg lamb leg/ beef, fat removed and cut into pieces
1 onion, chopped
1 tbsp ginger garlic paste
1 1/2 tbsp tomato paste
2 tbsp hot dark roasted curry powder
1 tbsp mild/sweet paprika
1 1/2 tbsp dark soy sauce
1/2 tbsp salt
1 1/2 cup water
4 tbsp ghee/oil
1/4 cup cream
Method
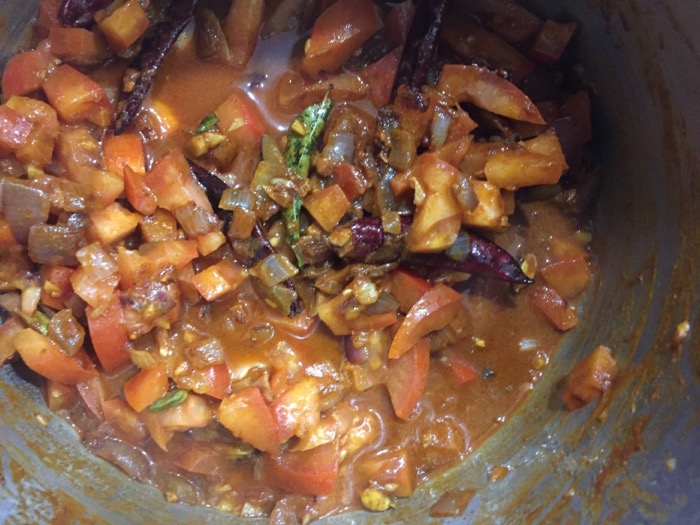
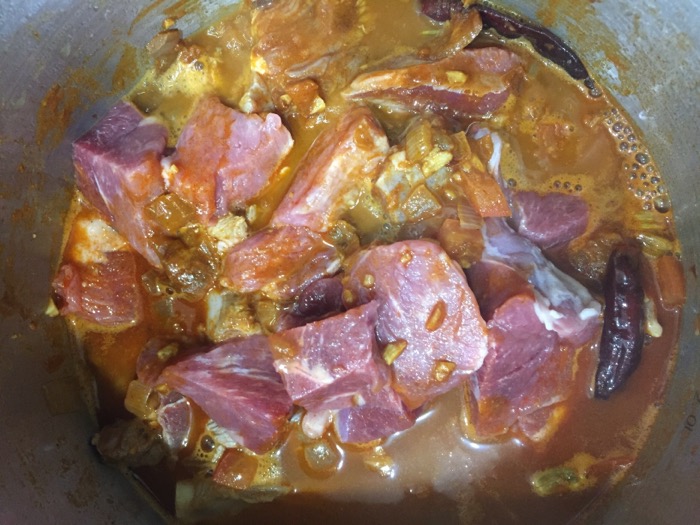
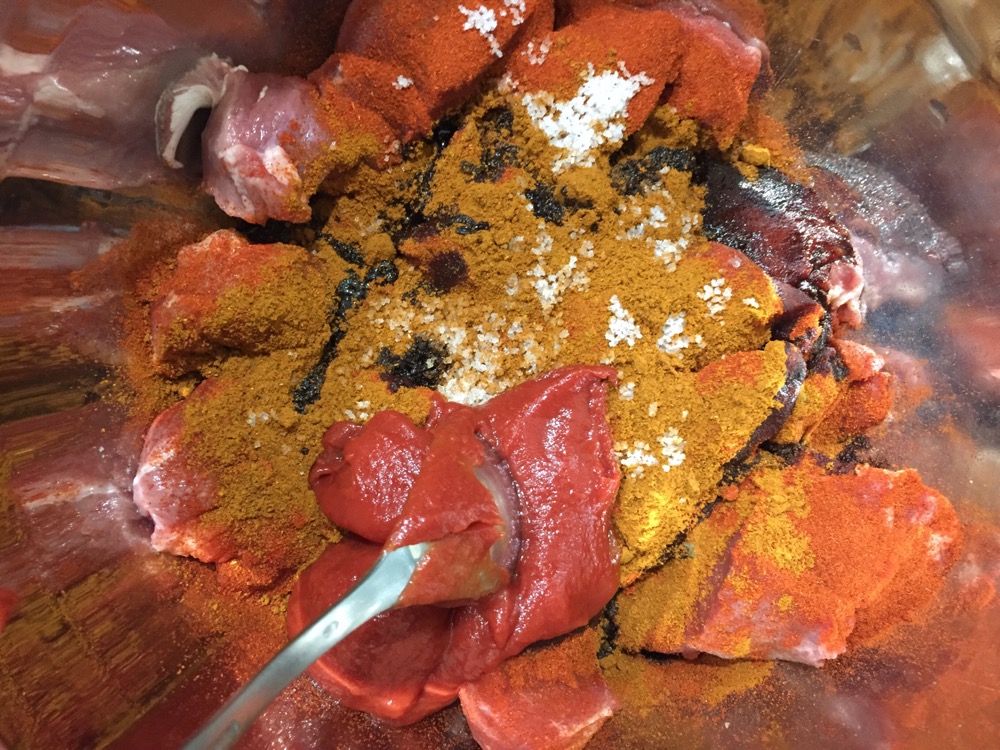
Marinate the lamb pieces in a medium sized mixing bowl with black soy sauce, salt, curry powder, paprika and tomato paste. Leave the ingredients to set for 15-30 minutes.
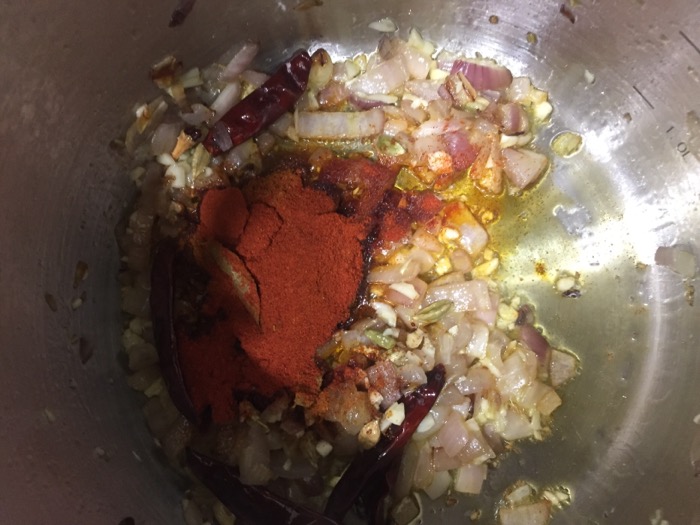
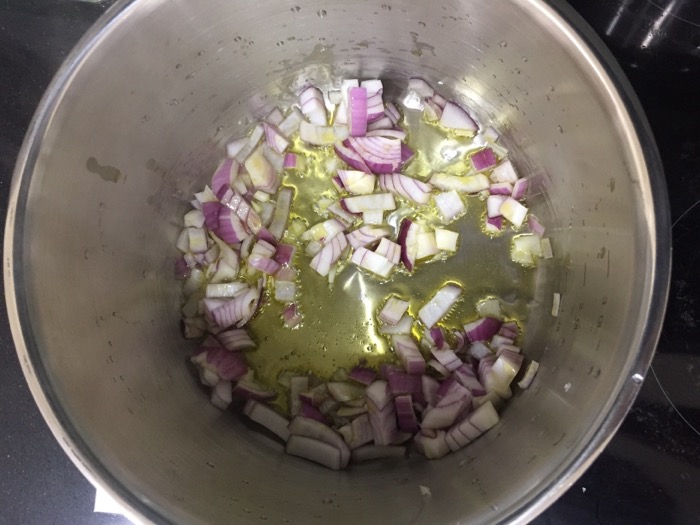
In a pot heat the ghee over medium high heat, add in the chopped onion once the ghee is heated and cook until it turns transparent. Add in the ginger and garlic paste to the pot and then stir to cook until the ginger and garlic paste gives out fragrant.
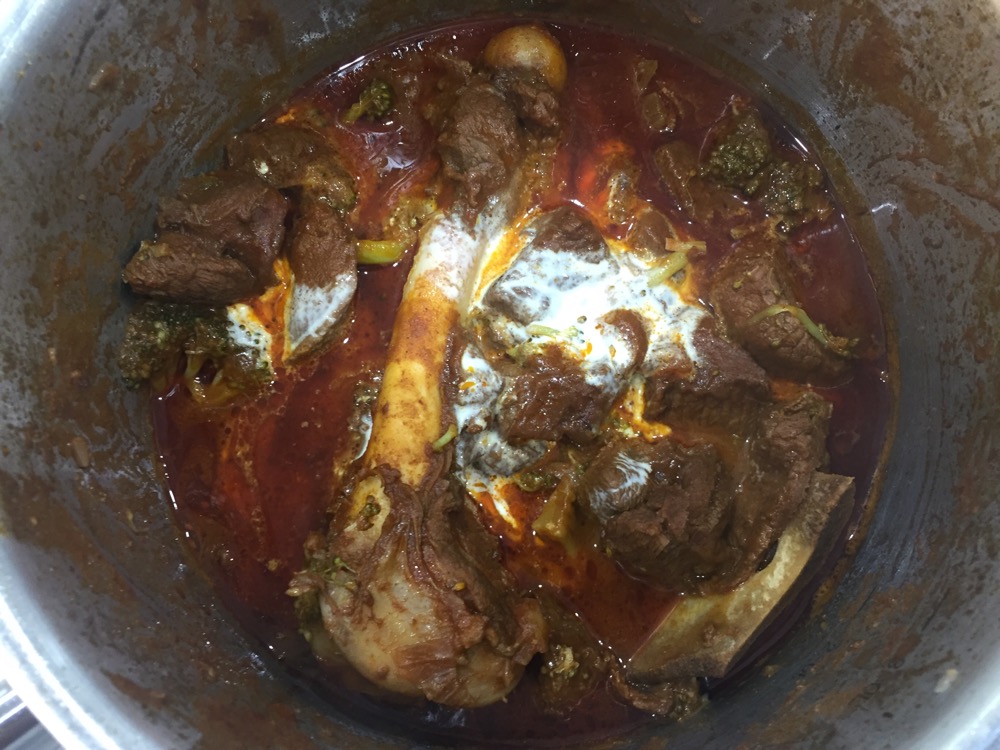
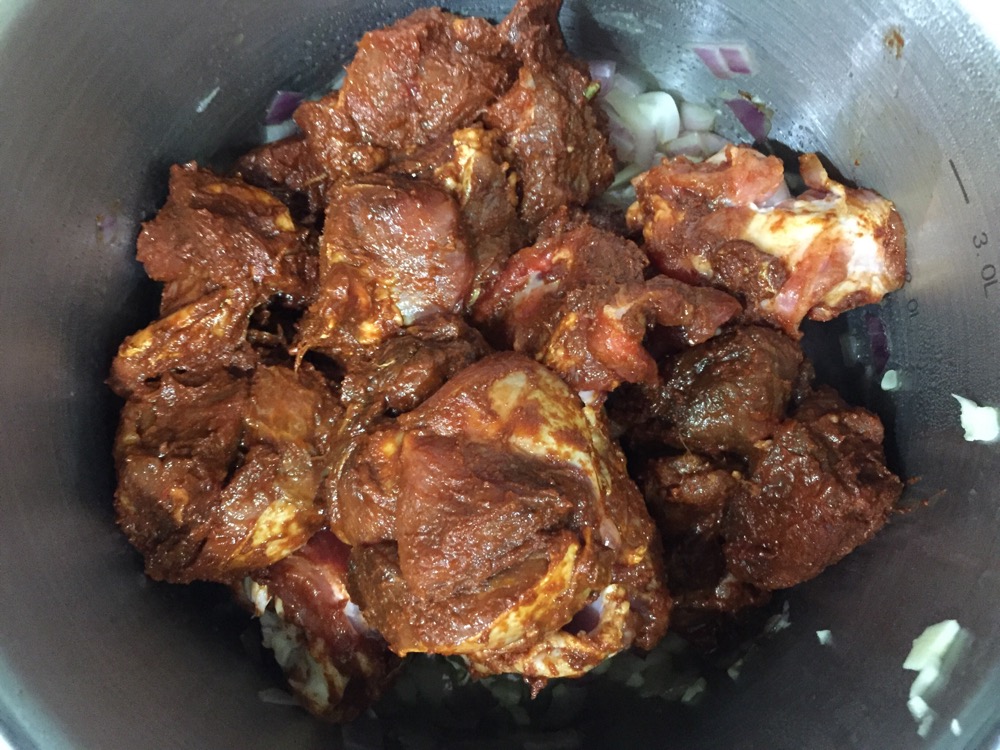
Now add in your marinated lamb pieces into the same pot and then add in the water. Bring the mixture to a boil over high heat. Once boiling reduce the heat to medium and continue to cook for 45 minutes -1 hr, stir occasionally. If the lamb is tender before 1 hour and the sauce is thick enough the curry should be ready, but if the sauce has become thick and the lamb isn’t tender then add more water and cook the dish longer until its tender.
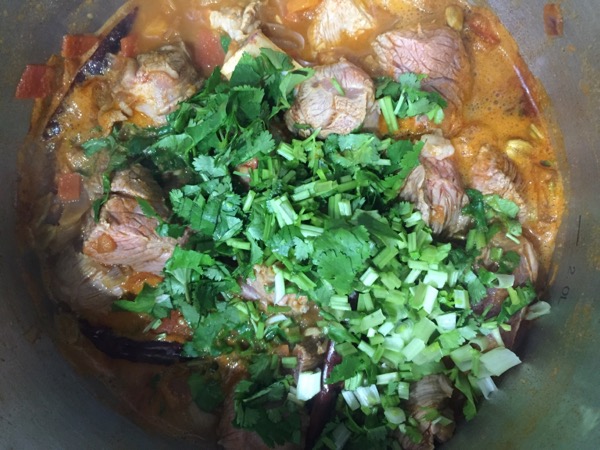
Add in the cream and then stir to mix. Remove from heat, serve with basmati rice.